
- Day-by-day difficulty breakdown
- Altitude and AMS: a real risk, not a footnote
- Gokyo Ri summit morning, and how it compares to Kala Patthar
- Training, and a fitness test that means something
- Who this trek suits
- How Gokyo compares: EBC, Cho La, and the Three Passes
- Does the season change the difficulty
- The guide requirement, the Ngozumpa glacier, and gear
- The honest answer
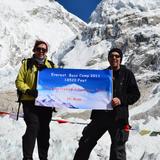
Gokyo Ri sits at 5,357m. Everest Base Camp sits at 5,364m. Seven metres apart, and yet most people booking a "lakes trek" assume it is the gentler cousin of the trek to Base Camp. It is not. Mountain Hawk Trek grades the standard Gokyo Valley Trek Moderate, the same grade the standard Everest Base Camp trek carries on a good itinerary, and the two routes ask for a similar amount of preparation.
Where they differ is in what makes each one hard. EBC's difficulty is mostly cumulative, a long steady grind toward one high point. Gokyo front-loads its hardest single day into a pre-dawn summit push, then hands you a real altitude question the moment you reach the lakes themselves. This guide covers the physical reality day by day: the climb, the altitude, the training, who it suits, and how it stacks up once Cho La Pass or the full Three Passes circuit enters the conversation. For the complete route, permits, and packing list, the Gokyo Valley trek complete guide covers all of that separately.
Day-by-day difficulty breakdown
Mountain Hawk Trek runs this as a 14-day package, door to door from Kathmandu. Nine of those days put you on the trail, covering a little over 90km round trip before anyone adds a side trip to Renjo La or the fifth lake. The rest are the Lukla flight, one built-in acclimatization day, and travel at either end.
| Day | Route | Elevation | Gain/Loss | Hours | Difficulty |
|---|---|---|---|---|---|
| 1 | Arrival in Kathmandu | 1,345m | - | - | Rest day |
| 2 | Fly to Lukla, trek to Phakding | 2,610m | short descent | 3h | Easy |
| 3 | Phakding to Namche Bazaar | 3,480m | +870m | 5h | Moderate |
| 4 | Acclimatization day, Namche Bazaar | 3,480m | - | - | Rest/acclimatization |
| 5 | Namche to Dole | 4,130m | +650m | 5h | Moderate |
| 6 | Dole to Machhermo | 4,470m | +340m | 6h | Moderate |
| 7 | Machhermo to Gokyo | 4,790m | +320m | 4h | Moderate |
| 8 | Gokyo Ri summit, back to Gokyo | 5,357m / 4,790m | +567m / -567m | 4h | **Hard** |
| 9 | Gokyo back to Dole | 4,130m | -660m | 3h | Moderate (knees) |
| 10 | Dole to Namche Bazaar | 3,480m | -650m | 6h | Moderate |
| 11 | Namche to Lukla | 2,795m | -685m | 6h | Moderate |
| 12 | Fly Lukla to Kathmandu | 1,345m | flight | - | Rest day |
| 13 | Leisure day, Kathmandu | 1,345m | - | - | Rest day |
| 14 | Departure | - | - | - | - |
Day 3 does the real work of introducing altitude. Phakding to Namche gains 870m in five hours, the single largest jump on the way in, and it is where most people first notice their breathing change. Day 4 is not a rest day in the sit-around sense. The standard Namche acclimatization hike still puts you on your feet for a few hours at higher elevation before you descend back to sleep, which is the point.
Days 5 through 7 climb steadily through Dole and Machhermo, gaining altitude in smaller, more deliberate steps than the Namche day did. None of this is technically hard walking. It is long, though, and the air keeps thinning under your feet the whole way. Machhermo's bakery does a decent cinnamon roll, one of the small, slightly absurd comforts this far into the Khumbu, and most trekkers remember it more clearly than they remember the trail conditions that day.
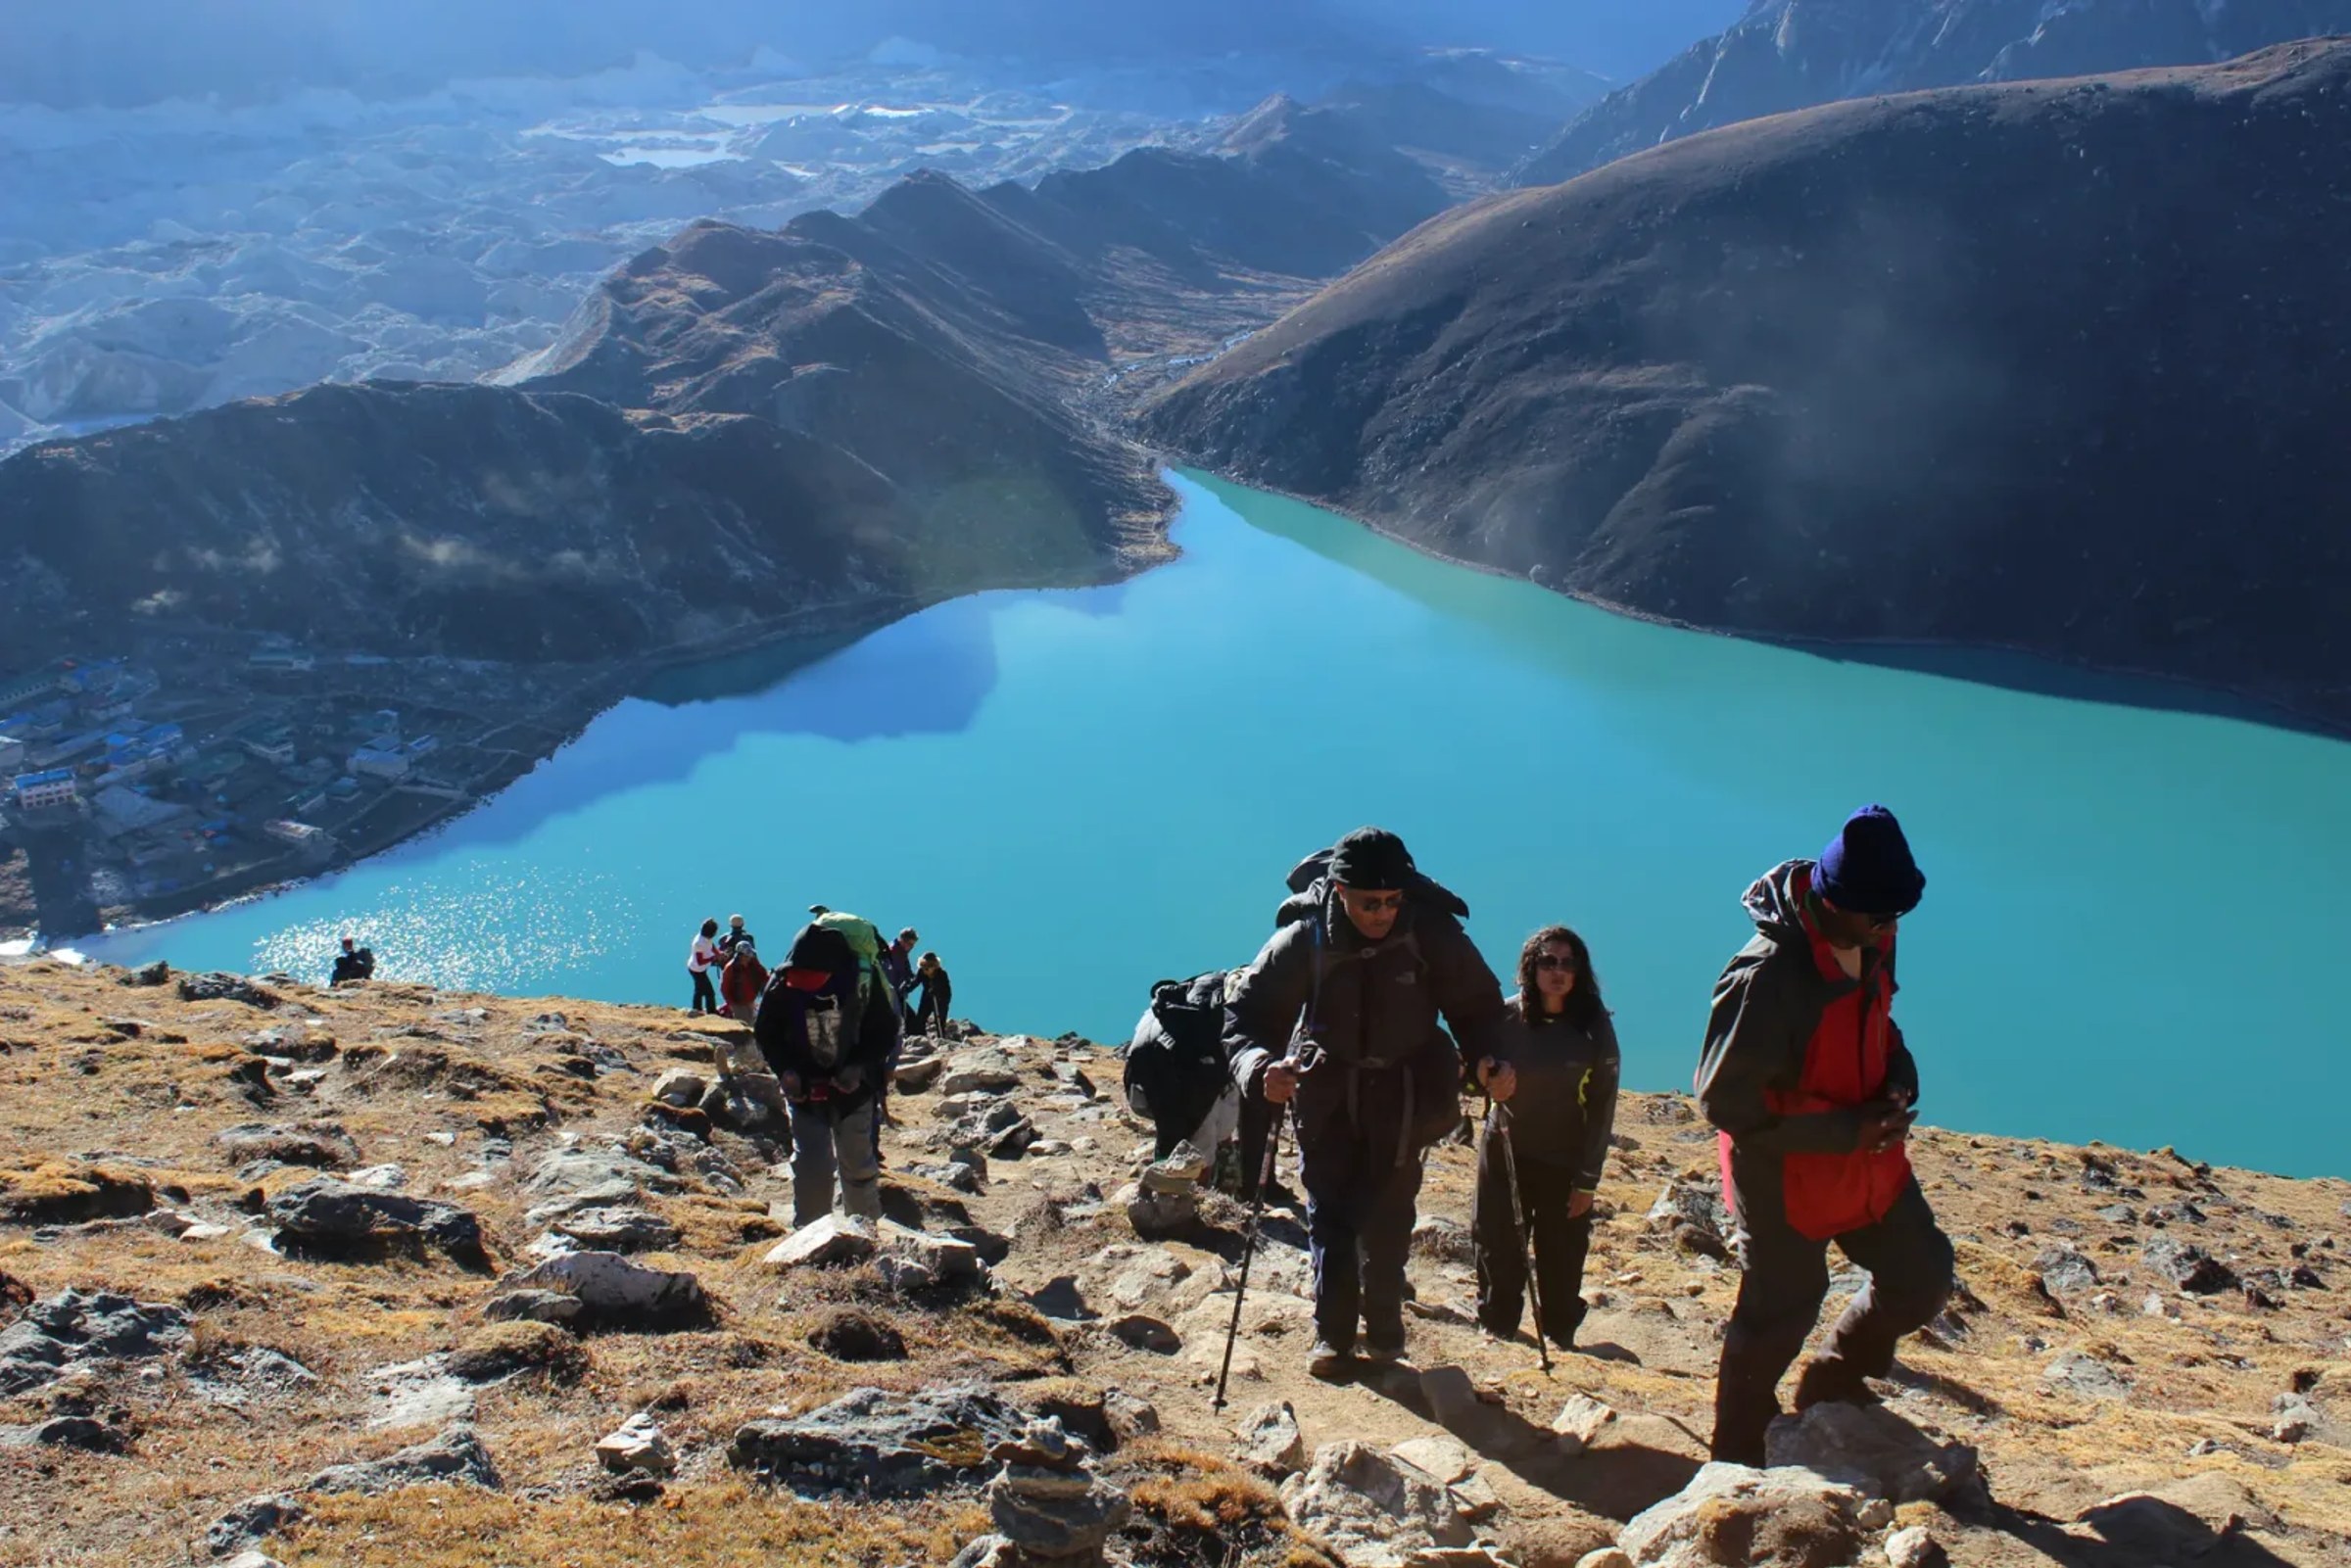
Day 8 is the trek's actual test. A pre-dawn start, roughly 567m of climbing from Gokyo village to the Gokyo Ri summit, then the same distance back down. Wind tends to pick up on the summit ridge after about nine in the morning, which is one more reason guides push an early departure rather than a leisurely one. Days 9 through 11 retrace the route back to Lukla, losing altitude steadily. The descent through Dole and Namche is not technically demanding. Three days of sustained downhill walking on uneven trail tests knees that a shorter trek would never bother, especially anyone who skipped the strength work in training.
Altitude and AMS: a real risk, not a footnote
This is the section where Gokyo genuinely separates from an easier trek like Poon Hill. Gokyo village sits at roughly 4,790m, and you sleep there for at least one night before the summit push the next morning takes you to 5,357m. Acute mountain sickness becomes a real statistical concern well below this altitude, and Gokyo sits comfortably past that threshold.
The itinerary is built around that fact rather than despite it. One dedicated acclimatization day at Namche, then a gradual climb through Dole and Machhermo rather than a direct push to Gokyo, follows the standard climb-high-sleep-low logic that reduces risk without adding days for the sake of it. You will see Gokyo's sleeping altitude quoted anywhere from about 4,750m to 4,800m across different trekking sites, a small spread that comes down to which specific building in the village someone measured from rather than any real disagreement about the risk. Mountain Hawk Trek's own figure is 4,790m, and that is the number this guide uses throughout.
Mild symptoms, a dull headache, some breathlessness on the Machhermo climb, disrupted sleep the first night above 4,000m, are common and not automatically cause for concern. Symptoms that worsen rather than settle, especially anything resembling confusion or a persistent cough, are a different matter and mean descending, not pushing on. The full clinical framework, Lake Louise diagnostic criteria, Diamox dosing, and the warning signs for HACE and HAPE specifically, is covered in depth in our altitude sickness guide. What matters here is narrower and worth saying plainly: on this trek, unlike on Poon Hill, altitude is not a background risk. It is one of the two things that make Gokyo hard.
Gokyo Ri summit morning, and how it compares to Kala Patthar
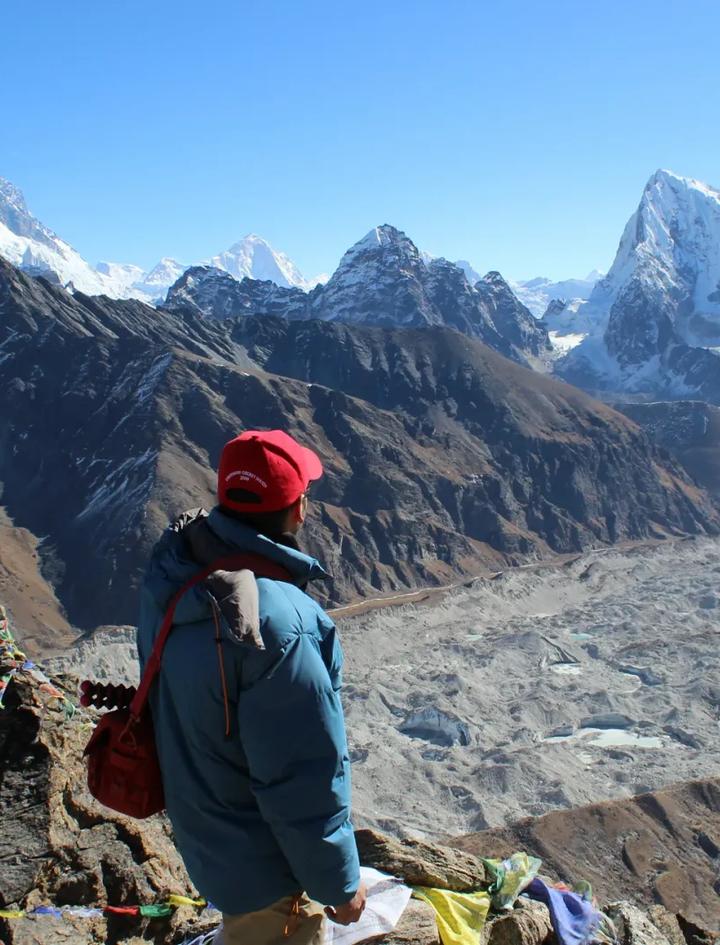
Gokyo Ri gains 567m from the village below it. Kala Patthar, Everest Base Camp's equivalent summit push, gains roughly 381m from Gorak Shep at 5,164m. Gokyo Ri sits 7m lower in absolute terms and still demands a bigger single climb to get there, which is not the comparison most people expect walking in.
The climb starts in the dark, usually between four and five in the morning, timed to reach the top for first light on Everest and Lhotse rather than for the climb itself. Expect two to four hours up depending on fitness and snow conditions, with short, frequent stops as completely normal at this altitude rather than a sign anything is wrong. The descent back to Gokyo takes about an hour and a half. Cold matters more here than the grade of the trail does. A pre-dawn ascent above 4,800m with wind on the ridge is a different kind of hard than a daytime walk at the same altitude would be, and winter departures in particular ask a lot more of trekkers than the same climb in October.
Neither summit is technical. Both reward patience over speed, and both are the single morning most trekkers on either route remember longest.
Training, and a fitness test that means something
Give yourself 8 to 12 weeks of structured cardiovascular training if you already walk or hike regularly. Longer if you are starting closer to zero.
The test that matters: can you hike six hours with a loaded daypack, roughly 8 to 10kg, without needing to stop every few minutes to catch your breath? If yes, you are close to ready. If that six-hour walk leaves you sore for two days afterward, that gap is worth closing before you fly, not discovering on day 5 of the actual trek.
Build the plan around three things. Cardio four to five times a week, whether that is brisk walking, cycling, or stairs if you have access to a long flight of them. Leg and core strength specifically, squats, step-ups, and some back work, because the descents from Gokyo back down through Dole and Namche punish weak knees far more than they punish weak lungs. And loaded-pack practice on your regular walks, so your shoulders already know what a full daypack feels like before day 3's climb into Namche. This is a meaningfully bigger training ask than Poon Hill's five-hour, 8kg benchmark, both in duration and in how many consecutive nights above 4,000m your body needs to tolerate.
Who this trek suits
Physically fit beginners can do this, with a caveat this guide will not soften. Multiple independent sources describe Gokyo as suitable for beginners who train properly, and that is accurate. It is not, however, the same beginner-friendly claim Poon Hill can make. Gokyo asks for sustained fitness across two weeks, several consecutive nights above 4,000m, and a summit morning that tests anyone regardless of experience level. A beginner who puts in the 8 to 12 weeks, picks spring or autumn, and travels with a licensed guide has a genuinely good chance of finishing comfortably. A beginner who assumes "lakes" sounds gentler than "base camp" and skips the training is the profile most likely to struggle.
Seniors face the same equation as beginners: conditioning matters more than age. Trekkers in their sixties complete this route regularly, provided pace and acclimatization get respected rather than rushed. An extra buffer day at Namche or Machhermo costs little and buys real margin for anyone over 60 who wants one.
Families considering Gokyo for kids should weigh the altitude question specifically, since this is not Poon Hill's near-zero-AMS-risk profile. A family group with teenagers who hike regularly is a very different proposition than one with young children unused to altitude, and the honest advice for the latter is to look at Poon Hill or Mardi Himal first and save Gokyo for a few years later.
Who Gokyo suits less well: anyone hoping for a short introduction to Himalayan trekking, or anyone who wants altitude scenery without any altitude risk at all. For that combination, Poon Hill or Mardi Himal deliver mountain views at a fraction of the commitment. For our full beginner-route breakdown across the region, see our Nepal trekking for beginners guide.
How Gokyo compares: EBC, Cho La, and the Three Passes
| Trek | Max altitude | Grade | Main difficulty driver |
|---|---|---|---|
| Poon Hill | 3,210m | Easy | A single steep staircase day |
| Standard Gokyo Lakes | 5,357m | Moderate | Sustained altitude, one hard summit morning |
| Everest Base Camp | 5,364m (5,545m via Kala Patthar) | Moderate | Sustained altitude over 14 days |
| Gokyo plus Cho La Pass | 5,420m (Cho La) | Difficult | Glacier terrain, a technical pass crossing |
| Everest Three Passes | 5,535m (Kongma La) | Challenging | Three passes, 22 days, minimal recovery between them |
Three clean tiers exist here, and most competitor sites blur them. Standard Gokyo, the route this guide covers, sits close to standard Everest Base Camp on Mountain Hawk Trek's own scale, both graded Moderate, both defined by sustained altitude rather than technical terrain. You will find plenty of sources online claiming the Gokyo trek is harder than EBC because of "the extra distance and the pass." Read those carefully. Almost all of them are describing a combined itinerary, Gokyo plus Cho La plus a continuation to Base Camp, not the standalone 14-day trek priced from USD 1,575 on our tour page.
Add Cho La Pass specifically, and the grade does jump. Our dedicated Gokyo Cho La Pass guide covers that variant in full: a 5,420m pass, a glacier approach that needs crampons or microspikes, and 7 to 9 hours on the crossing day alone. Go further and add all three high passes, Renjo La, Cho La, and Kongma La, on the full Everest Three Passes trek, and you are at the hardest tier the region offers: 22 days, three non-consecutive high-altitude crossings, and limited full recovery between them. If the standard Gokyo route feels right but you want one add-on without committing to the full circuit, Renjo La alone is generally considered the easiest of the three passes and a realistic single step up.
Does the season change the difficulty
Yes, more so here than on most treks at comparable altitude, because the lakes themselves and the Gokyo Ri approach both ice over. December through mid-February brings nighttime temperatures that can drop toward minus 20 Celsius, snow-covered trail sections that slow progress and reduce visibility, and a real chance the lakes are frozen solid, which changes the entire point of the destination. Dining rooms above Dole get properly cold at breakfast in these months, cold enough that down jackets stay on through the meal.
Early winter departures, December specifically, are generally manageable for well-prepared, well-equipped trekkers. January and February see heavier snowfall that most operators, us included, would steer a first-timer away from without solid winter trekking experience already banked. Spring, March through May, and autumn, September through November, remain the seasons this guide recommends without qualification: dry trail, no ice on the summit ridge, and lakes that actually look like the photographs that sold you on the trip.
The guide requirement, the Ngozumpa glacier, and gear
A guide is legally mandatory on this route. Since April 2023, Nepal has required a licensed guide for foreign trekkers inside national parks and conservation areas, and Sagarmatha National Park, which the entire Gokyo route sits inside, is squarely covered. Mountain Hawk Trek's own tour page states the requirement directly, alongside the standard ratio of one porter for every two trekkers. Permit specifics for Sagarmatha National Park and the Khumbu Pasang Lhamu municipality fee are covered in our Nepal trekking permits guide.
Worth being precise about the Ngozumpa Glacier, since a lot of competitor copy blurs this. On the standard Gokyo route, you view the glacier. It runs directly below Gokyo Ri and along the edge of the lakeshore trail, close enough to see the moraine and the meltwater ponds clearly, but the standard itinerary never actually crosses it. The glacier crossing itself, between Thangnak and Gokyo, belongs to the Cho La Pass variant, where it is a genuine section of the route rather than a view.
Gear-wise, trekking poles matter more on the descent from Gokyo back through Dole and Namche than almost anywhere else on the trip. Good ankle support helps on the same stretches, where the trail is uneven rather than technical. Whether you need microspikes for the Gokyo Ri summit morning depends on the week you go. Ask your guide directly once you are on the ground rather than assuming either way. For a full packing list built around a two-week itinerary like this one, see our Nepal trek packing checklist.
The honest answer
Gokyo earns its Moderate rating honestly. No technical climbing on the standard route, a well-built acclimatization schedule, and a grade that sits close to Everest Base Camp's rather than below it. That is not the same as easy. Sleeping above 4,700m for consecutive nights and climbing 567m before sunrise on day 8 are genuine physical and physiological tests, not formalities.
Train for 8 to 12 weeks, respect the acclimatization schedule rather than rush it, and most reasonably fit trekkers handle this route without serious trouble. Once fitness is settled, the bigger decision is which tier fits: the standard trek, the Cho La add-on, or the full Three Passes circuit sitting two rungs higher.
If you want the full cost breakdown before committing, what the trek costs covers guide fees, teahouse prices, and the full package price in detail. If you are weighing Gokyo against Cho La, the Three Passes, or Everest Base Camp itself and want a straight answer for your specific dates and fitness, get in touch and we will walk through it honestly.